“ARIB applicants” is the list of persons and companies in whose name fields are declared to PRIA (the Estonian Agricultural Registers and Information Board). In the English interface PRIA is shown as ARIB, and these PRIA applicants appear as “ARIB applicant” or “ARIB applicant”. The applicant is set on a field’s crop year (see Crop rotation), and only the works, grazing records and yields of fields whose applicant exists in e-PRIA can be sent to e-PRIA. From here you also send PRIA a confirmation that the applicant keeps an electronic fieldbook in Terake.
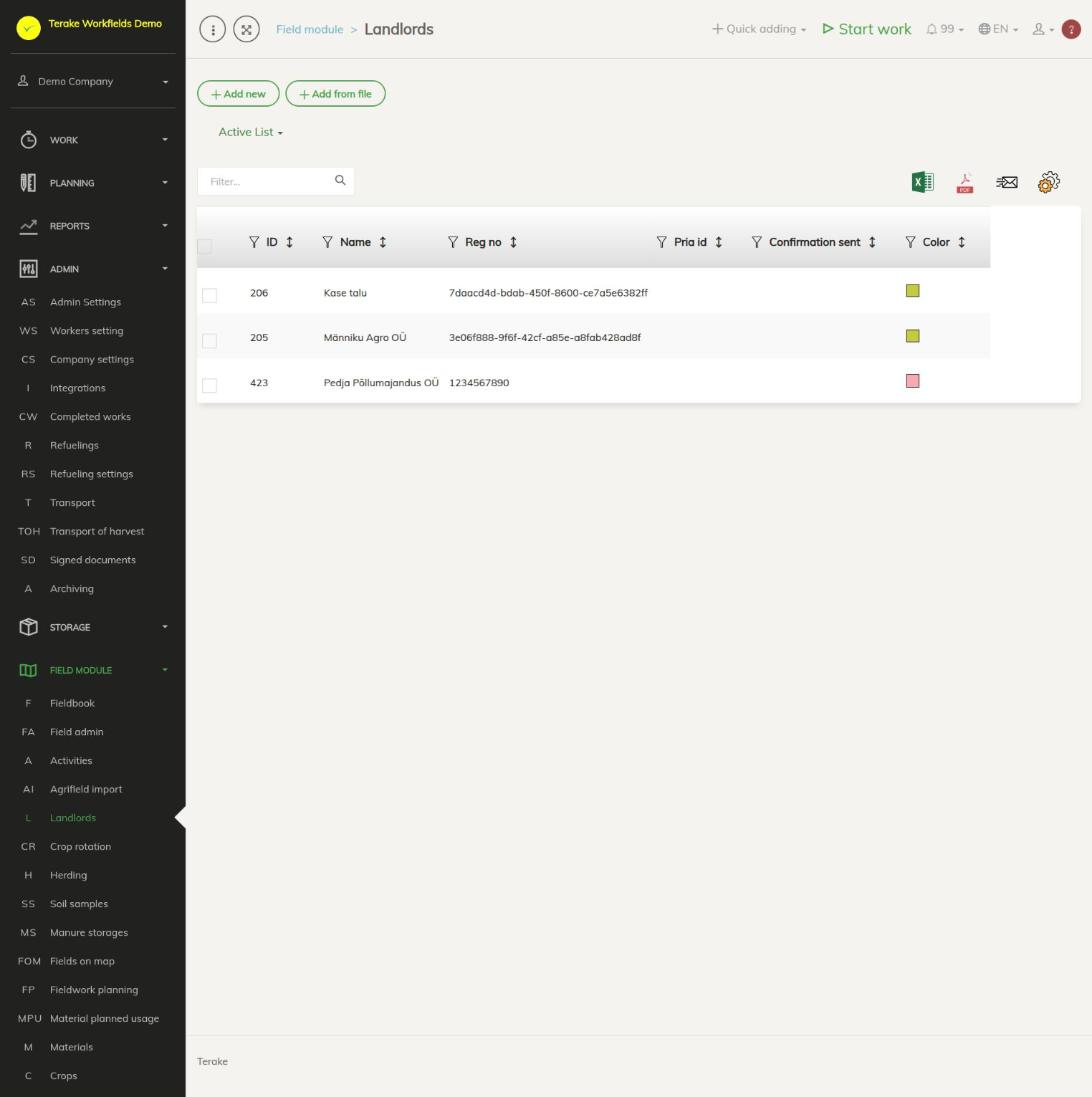
Page layout
- “Add new” opens the form for a new applicant; “Add from file” loads applicants from a file.
- The “Active list” / “Archived list” drop-down switches between applicants in use and archived applicants.
- Table columns: “ID”, “Name”, “Reg no”, “Pria id” (the applicant’s identifier in e-PRIA; empty if the applicant has not yet been linked to an e-PRIA applicant), “Confirmation sent” (the time the confirmation was sent) and “Color”.
- You can hide columns with the cogwheel and download the table as an Excel or PDF file.
How to add an applicant
- Press “Add new”.
- Enter “Name” (required) and “Reg no” (the company’s registry code or the person’s personal identification code).
- Press “Save and close”.
To add several applicants at once, use the “Add from file” button: select the file (“Select file”), tick “File has header row” if needed, match the file’s columns to the fields “Name” (required) and “Reg no”, and press “Save”.
You do not always have to add an applicant by hand. When you import fields from e-PRIA (see Field import), a missing applicant is added automatically with the name, registry code, “Pria id” and colour.
How an applicant is linked to e-PRIA
When the e-PRIA integration is used, the applicants whose data you have rights to in e-PRIA are loaded from e-PRIA. A Terake applicant is linked to an e-PRIA applicant by “Pria id”; if that is missing, by “Reg no” (registry code or personal identification code). The “Pria id” is saved for the applicant found. That is why you should enter “Reg no” exactly as it is in e-PRIA.
If an applicant has no “Pria id”, the data of their fields cannot be sent to e-PRIA: the result is the message “Pria taotlejat … e-Prias ei ole” (PRIA applicant … does not exist in e-PRIA).
How to send a confirmation to PRIA
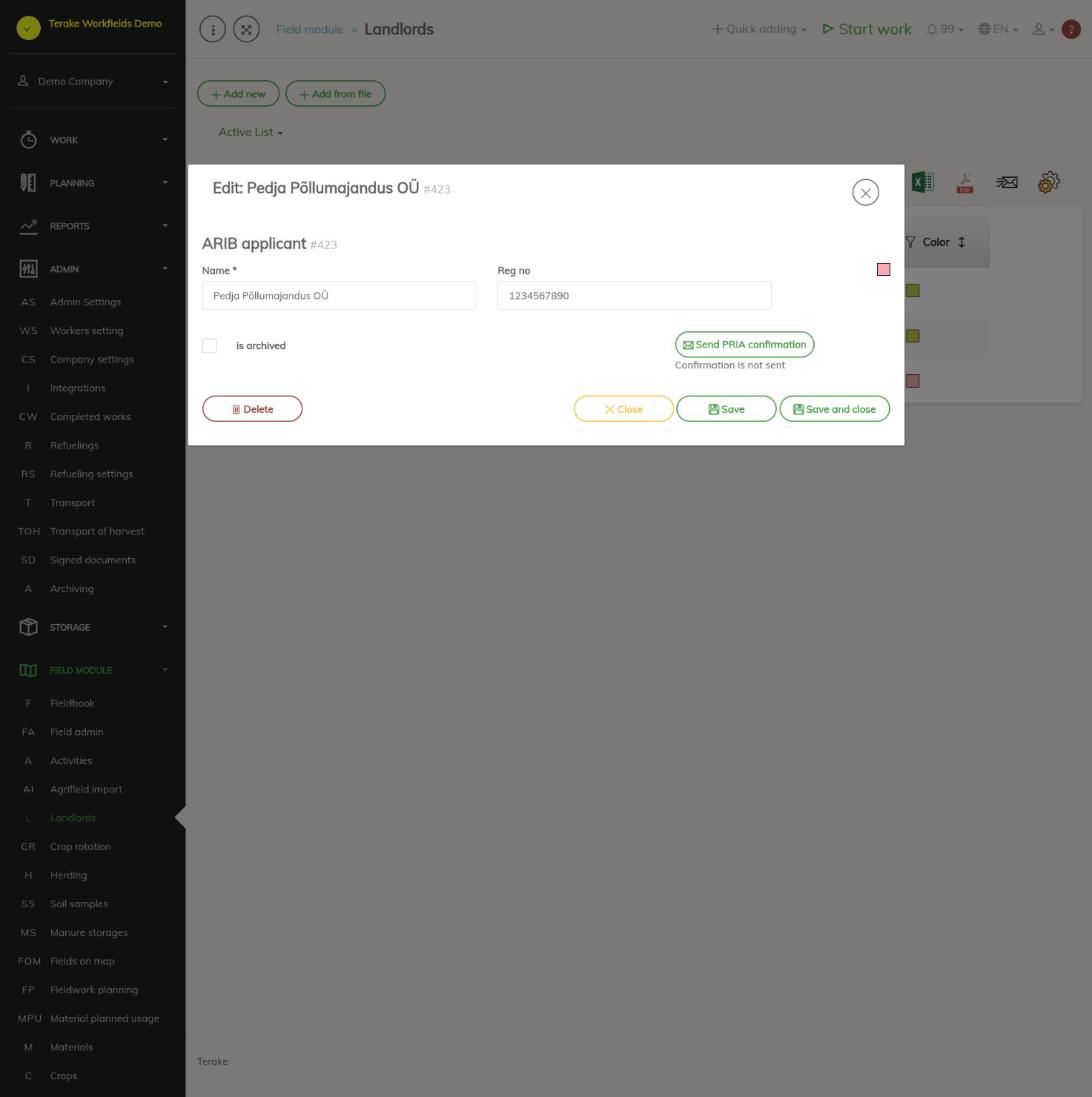
- Click the applicant’s row in the list. The “Edit” form opens. For a new applicant, save the data first: until the applicant is saved, the button is inactive and the form shows the text “Save payee data for sending confirmation”.
- Press “Send PRIA confirmation”.
- Terake sends PRIA an e-mail confirmation “Tõend … elektroonilise põlluraamatu kasutamise kohta” (confirmation of … using an electronic fieldbook) with the applicant’s name and registry code. You also receive a copy.
- Below the button is the sending time (“Confirmation sent …”) or “Confirmation is not sent”. The same time is in the “Confirmation sent” column of the list.
How to archive an applicant
If an applicant is no longer in use, open the applicant’s form, tick “Archived” and save. The applicant moves to the “Archived list” and is no longer offered in selections. The form’s “Delete” button deletes the applicant.
Who can see and change it
The page is visible to “Administrator”, “Observer” and “Agronomist”. You can only change your own company’s applicants. Applicants are added and changed by “Administrator” and by workers whose role has the right to change applicants; “Observer” sees the list read-only.
Tips
- To use the e-PRIA integration, your personal identification code must be confirmed by Terake. To have it confirmed, write to support@terake.com.
- You set the applicant for a field’s crop year on the Crop rotation page or in the field form on the Field admin page.
- The fields’ PRIA applicant is also shown in the field list of the fieldbook, in the “ARIB applicant” column.
API calls on this page
For integrations and AI assistants: this page uses the following Terake API calls. The full description is in the API reference.
When the page opens:
GET /api/priapayees– PriaPayee collection
Adding, changing and deleting (from the API description):
DELETE /api/priapayees/{id}– Delete PriaPayeePOST /api/priapayees– Create PriaPayeePUT /api/priapayees/{id}– Update PriaPayee
Other calls from this screen’s dialogs and actions (from the web client’s code):
GET /api/priapayees/{id}– Get PriaPayeeGET /api/priapayees-import– PriaPayees held in e-PRIAPOST /api/pria_confirmation/{id}– Send PRIA confirmation letter