On the “Cost centers” page you manage cost centers: divisions, activities or equipment whose costs are collected separately. A cost center can be selected for work, a project, a shift and a work schedule row, and the costs of work can be split by cost center in reports and in exports to accounting. The page is used by the administrator. The list, loading from a file, archiving and “Bulk edit parameters” are described in general on the Admin Settings page.
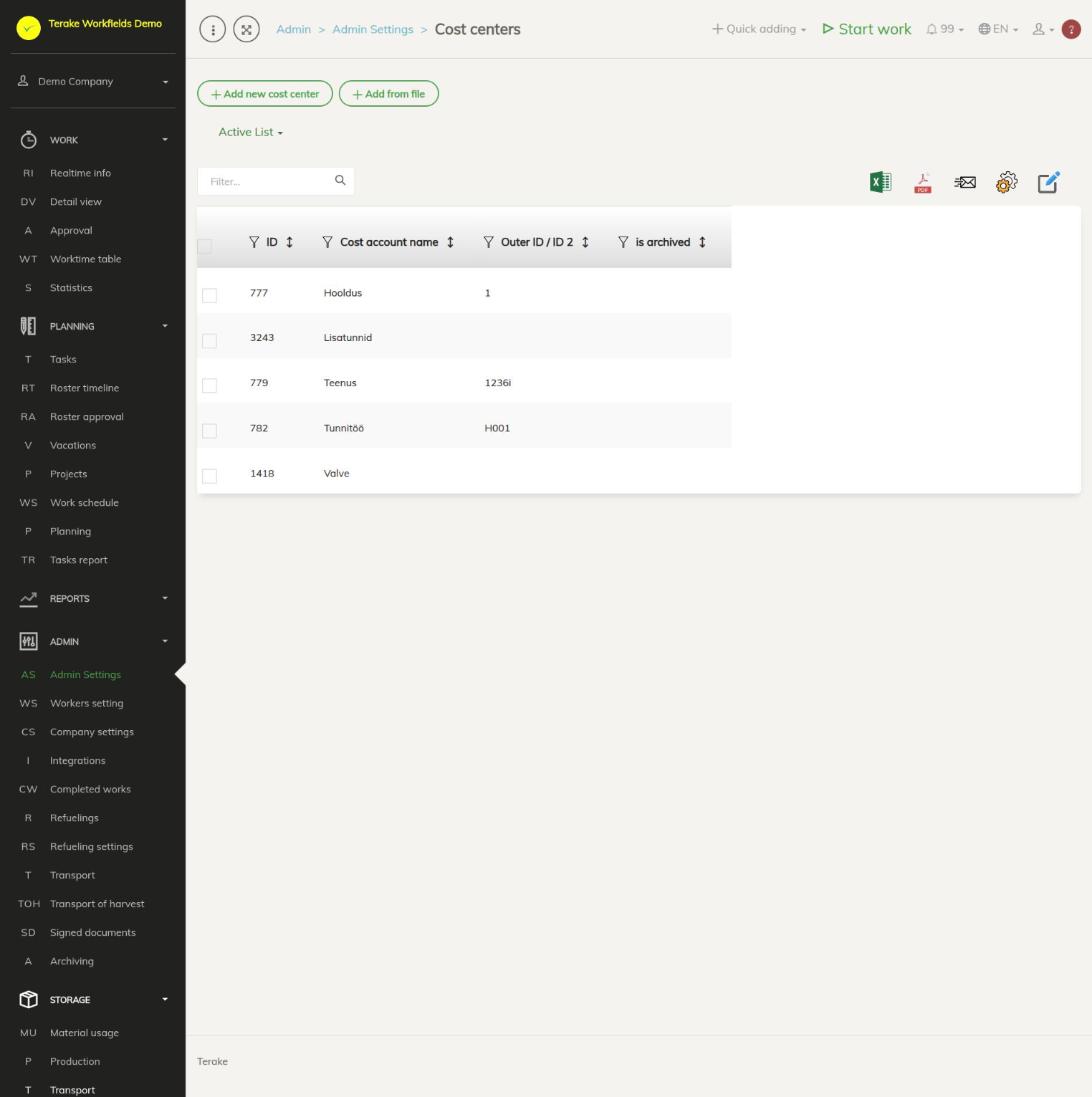
Page layout
- The “Add new cost center” and “Add from file” buttons and the “Active list” / “Archived list” drop-down. Active cost centers appear in the options, archived ones do not.
- Table columns: “ID”, “Cost center name”, “Outer ID / ID 2” and “Archived”.
- With “Bulk edit parameters” you can archive or delete the ticked cost centers at once.
How to add or change a cost center
- Press “Add new cost center” or click the row of an existing cost center. The “Add new cost center” or “Edit cost center” window opens.
- Enter the “Cost center name” (mandatory). The name is what users see in the options for work and plans.
- If needed, enter the “Outer ID / ID 2”: the cost center’s code in accounting or another system, used when exporting data.
- When the cost center is no longer used, tick “Archived”. The cost center disappears from the options but stays with earlier work and in reports.
- Press “Save” (the window stays open) or “Save and close”.
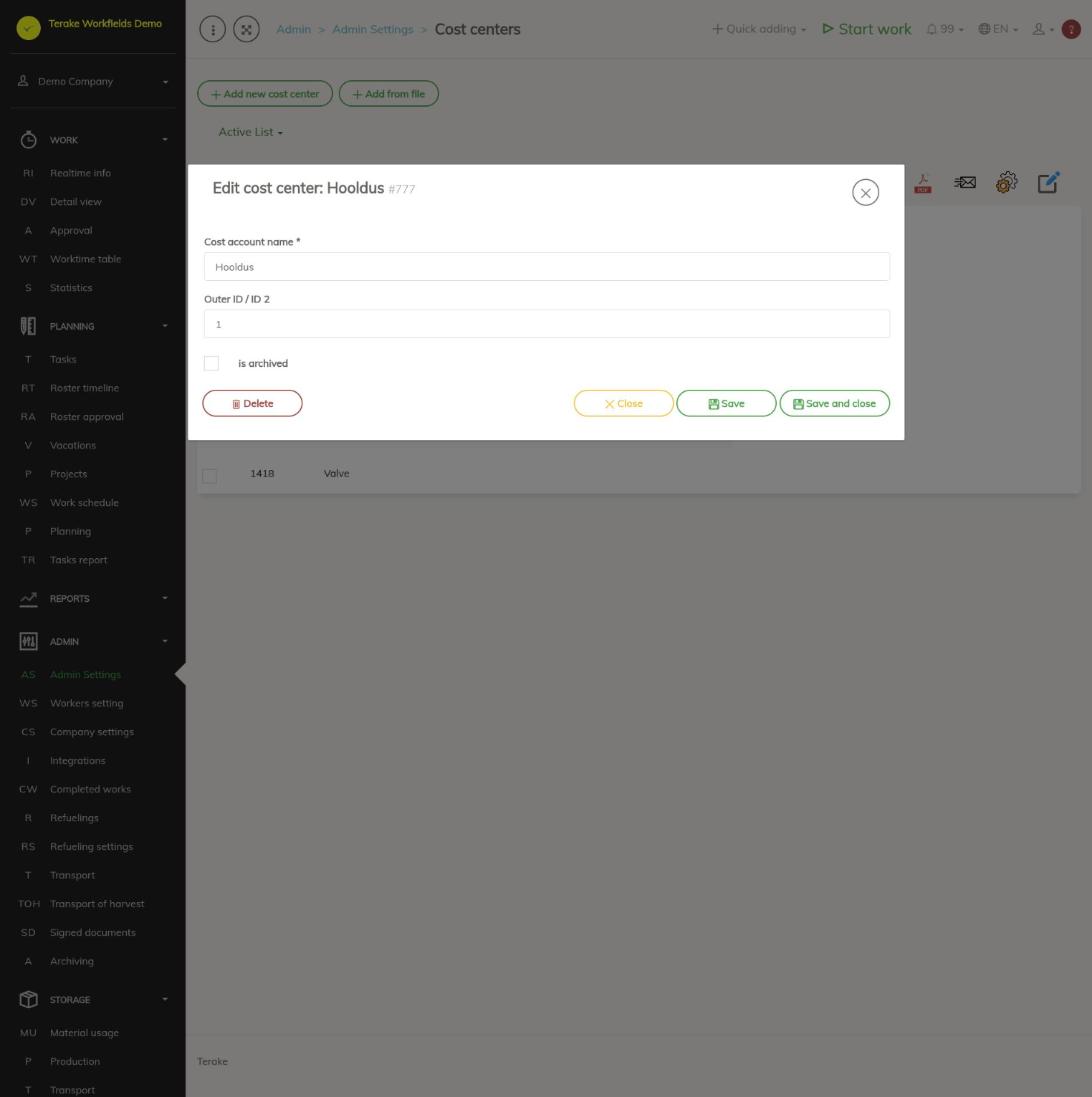
To delete a cost center, open it and press “Delete”. If the cost center has already been used in work, it is better to archive it.
How to load cost centers from a file
- Press “Add from file” and choose an Excel file.
- Match the columns to fields: “Cost center name” is mandatory, and you can also load “Outer ID / ID 2”.
- Press “Save”. A more detailed description is on the Admin Settings page.
How a cost center gets to work
- The worker or manager selects the cost center in the “Cost center” field on the completed work form. The field is not mandatory.
- On a work schedule row, the cost center is taken from the selected shift and, if that is empty, from the selected project. If the worker’s worktime is counted by the schedule, work linked to the schedule gets the cost center of the schedule row.
- If work has no cost center, it is set by the cost center rules when the work is finished and in the nightly check, see Cost center rules.
- If a cost center is selected for a project, Terake automatically creates a cost center rule for that project (the rule name is the project name). When the project’s cost center changes, the rule changes too; when the cost center is removed, the rule is deleted.
Who can see and change it
The page is in the Admin menu and opens only for the “Administrator” role, who can add, change and delete the company’s cost centers. The “Accountant” role can add and change cost centers with the pencil and plus buttons next to the “Cost center” selection field on forms on other pages. If “Users have by default create privilege” is ticked in the company settings, other users, except “Observer” and “ARIB employee”, can also add a new cost center with the plus button and change a cost center they added within 48 hours of adding it.
Tips
- A cost center can also be set for a shift (Shifts) and a project (Projects); then the worker does not have to choose it.
- Summaries by cost center are in the reports, where you can group or filter by cost center.
API calls on this page
For integrations and AI assistants: this page uses the following Terake API calls. The full description is in the API reference.
When the page opens:
GET /api/costaccounts– CostAccount collection
Adding, changing and deleting (from the API description):
DELETE /api/costaccounts/{id}– Delete CostAccount by ID or UUIDPOST /api/costaccounts– Create new CostAccountPUT /api/costaccounts/{id}– Modify CostAccount
Other calls from this screen’s dialogs and actions (from the web client’s code):
GET /api/costaccounts/{id}– CostAccount by ID or UUID